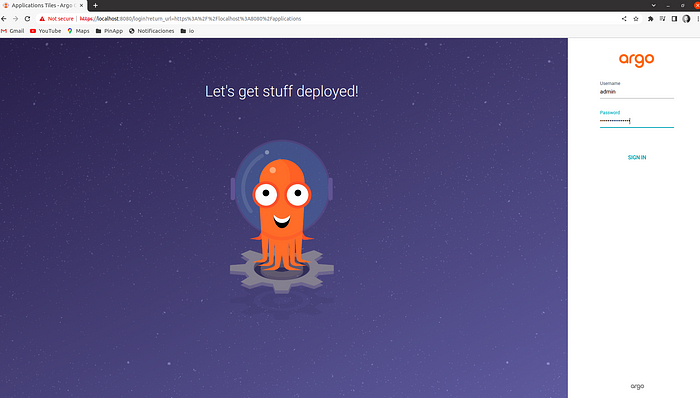
Install argo Create the argo namespace and aplly the manifest with all the yaml for the argo creation in k8s. Finally obtain the secret of the argo admin account
Kubectl create ns argocdhttps: //raw.githubusercontent.com/argoproj /argo-cd/stable /manifests/install .yaml"{.data.password}" | base64 -d Expose argo by port-forward
kubectl port-forward svc/argocd-server -n argocd 8080:443 2. Install prometheus
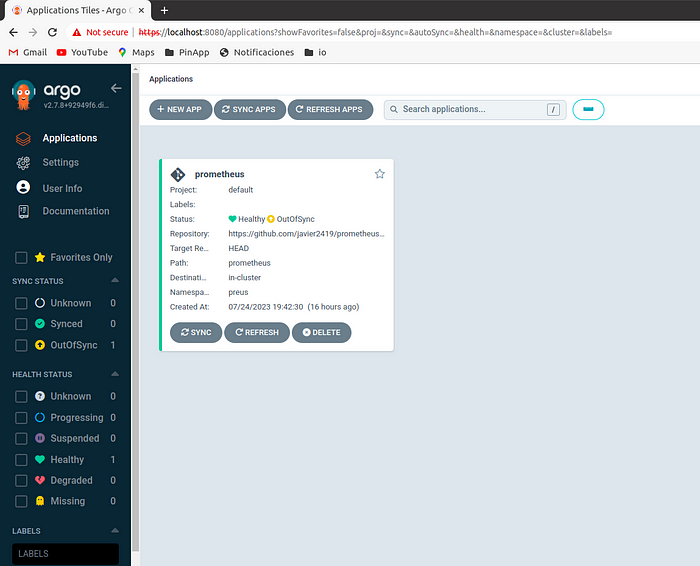
Create argo app named prometheus-helm-app-yaml
apiVersion: argoproj.io/v1alpha1
kind: Application
metadata:
  name: prometheus
  namespace: argocd
spec:
  source:
    path: prometheus
    repoURL: https://github.com/javier2419/prometheus-helm.git
    targetRevision: HEAD
  destination:
    server: 'https://kubernetes.default.svc'
    namespace: preus
  project: default
Kubecetl create namespace preus 2. Install Grafana
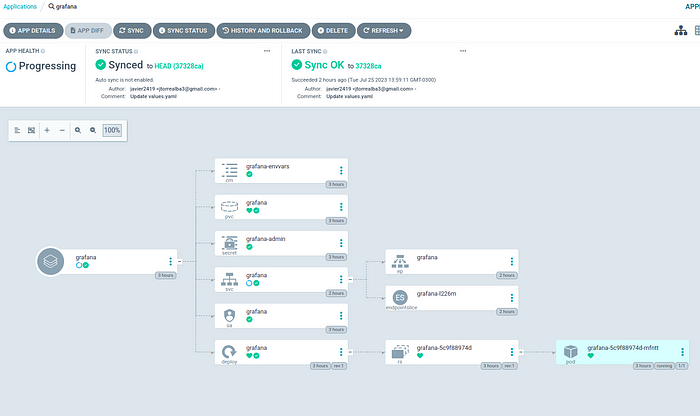
Create argo app named grafana-helm-app-yaml
apiVersion: argoproj.io/v1alpha1
kind: Application
metadata:
  name: grafana
  namespace: argocd
spec:
  source:
    path: grafana
    repoURL: https://github.com/javier2419/prometheus-helm.git
    targetRevision: HEAD
  destination:
    server: 'https://kubernetes.default.svc'
    namespace: grafana
  project: default
Kubecetl create namespace grafana kubectl port-forward svc/grafana -n grafana 3001:3000 The password is in values.yaml
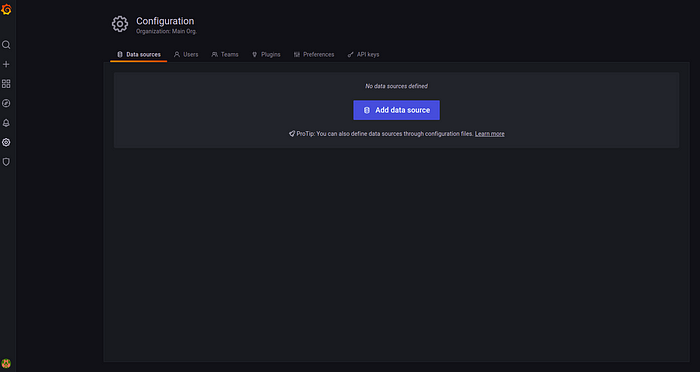
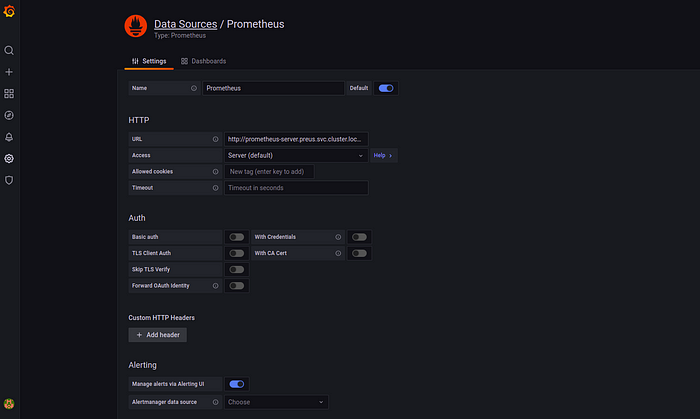
Now add data source prometheus in grafana
url = http://prometheus-server.preus.svc.cluster.local
click in save & test
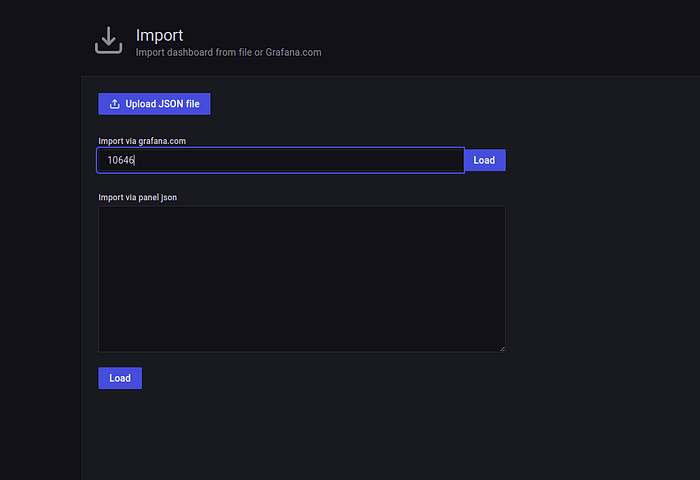
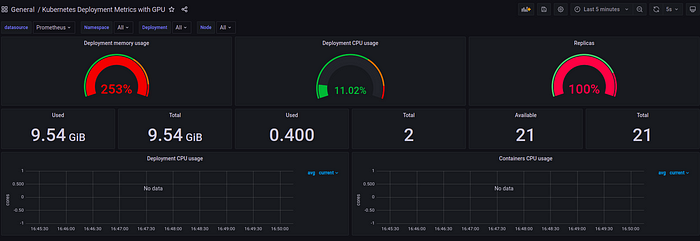
3. Import dashboard kubernetes deployment metrics with GPU
4. ArgoCD Slack Notification Setup
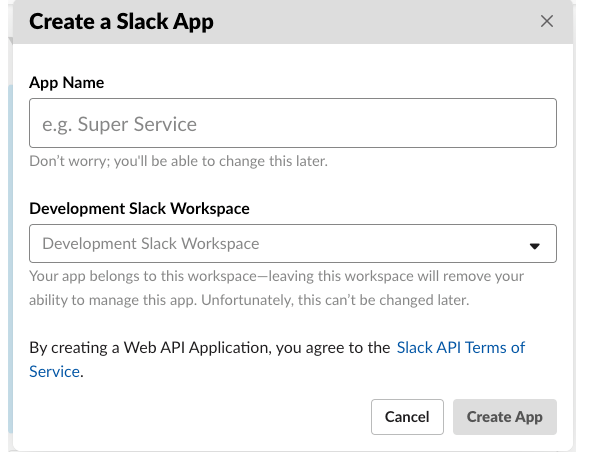
4.1 Create Slack Application using https://api.slack.com/apps?new_app=1
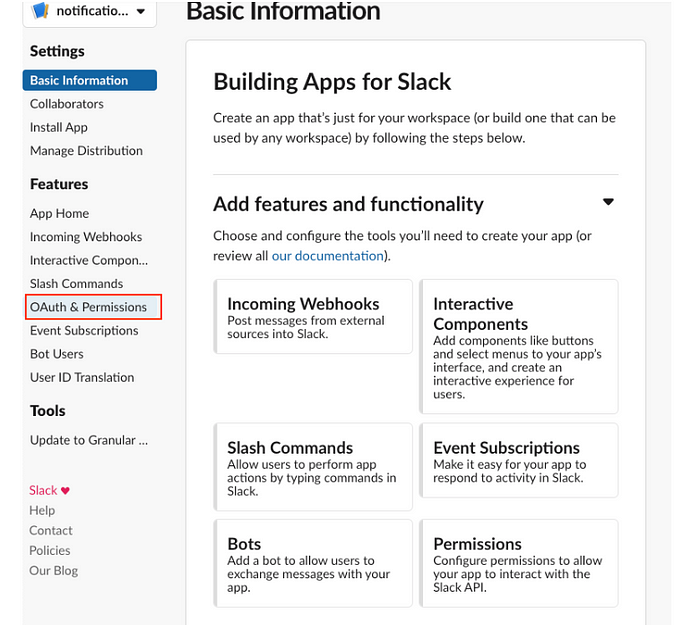
4.2 Once application is created navigate to Enter OAuth & Permissions
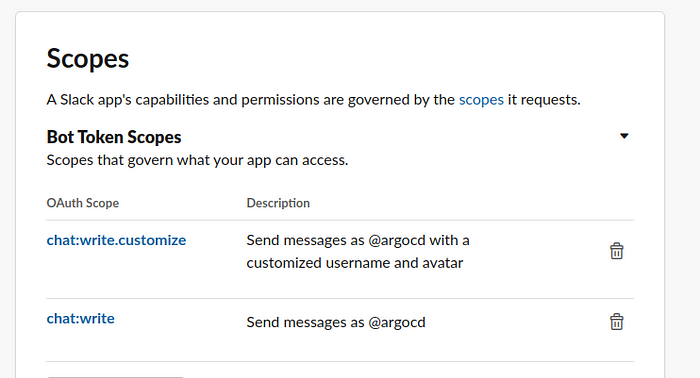
4.3 Click Permissions under Add features and functionality section and add chat:write:bot scope. To use the optional username and icon overrides in the Slack notification service also add the chat:write.customize scope.
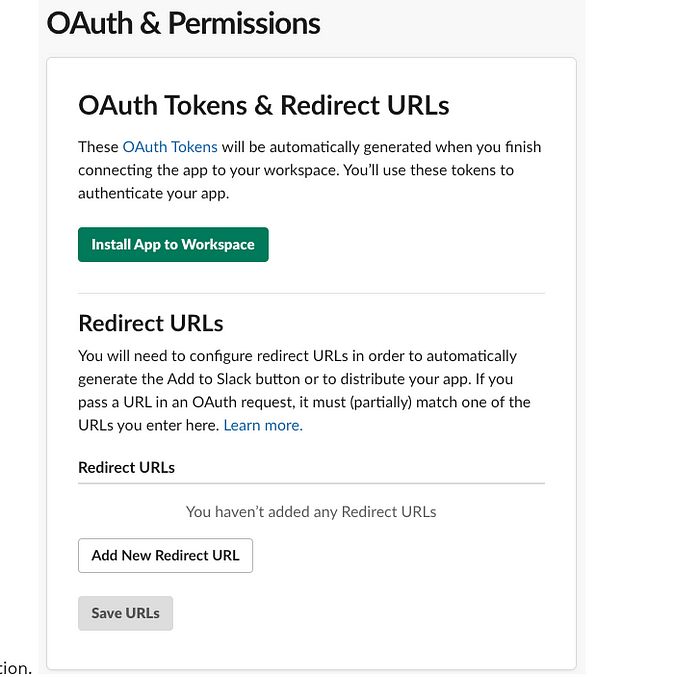
4.4 Scroll back to the top, click ‘Install App to Workspace’ button and confirm the installation.
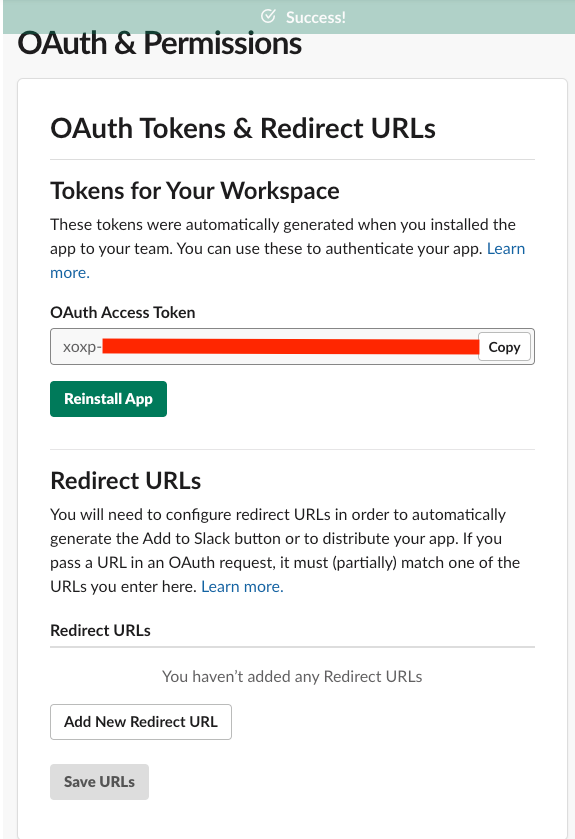
4.5 Once installation is completed copy the OAuth token.
4.6 Create a Slack Channel, for example argo and ddd your bot to this channel otherwise it won’t work
4.7 Store token in argocd_notifications-secret Secret
apiVersion: v1
kind: Secret
metadata:
  name: argocd-notifications-secret
  namespace: argocd
stringData:
  slack-token: "xoxb-xx-your secret"
The above file is called argocd-notifications-secret.yaml.
kubectl apply -f argocd-notifications-secret.yaml Finally, use the OAuth token to configure the Slack integration
apiVersion: v1and healthy. Triggered once per commit.status .operationState.syncResult.revisionstatus .operationState.phase in ['Succeeded' ] and app.status .health.status == 'Healthy' and app.status .sync.status == 'Synced' if eq .serviceType "slack" }}:white_check_mark:{{end }} Application {{.app.metadata.name}} is now running new version of deployments manifests."title" : "{{ .app.metadata.name}}" ,"title_link" :"{{.context.argocdUrl}}/applications/{{.app.metadata.name}}" ,"color" : "#18be52" ,"fields" : ["title" : "Sync Status" ,"value" : "{{.app.status.sync.status}}" ,"short" : true "title" : "Repository" ,"value" : "{{.app.spec.source.repoURL}}" ,"short" : true "title" : "Revision" ,"value" : "{{.app.status.sync.revision}}" ,"short" : true status .conditions}}if not $index}},{{end }}if $index}},{{end }}"title" : "{{$c.type}}" ,"value" : "{{$c.message}}" ,"short" : true end }} The above file is called argocd-notifications-cm.yaml
kubectl apply -f argocd-notifications-cm.yaml Create a Slack integration subscription:
apiVersion: argoproj.io/v1alpha1 kind: Application metadata: name: guestbook namespace: argocd annotations: notifications.argoproj.io/subscribe.on-deployed.slack: argo spec: source: path: helm-guestbook repoURL: https://github.com/argoproj/argocd-example-apps.git targetRevision: HEAD destination: server: 'https://kubernetes.default.svc' namespace: kube-system project: default Testing

